How to Replace Your Oven Knob | Allstar Appliance Parts
Has your oven knob been cracked, broken or otherwise damaged? If so, you can learn how to replace your oven knob.
Keyword(s): oven knob
Appliances these days seem to need more repair and upkeep than ever before.
Ovens are no exception to this problem. If your burner control oven knob has broken in some way, it can be nearly impossible to use that particular burner properly until you've replaced it.
But who wants to call in a repairman for something that you can fix yourself?
1. Inspect Your Oven
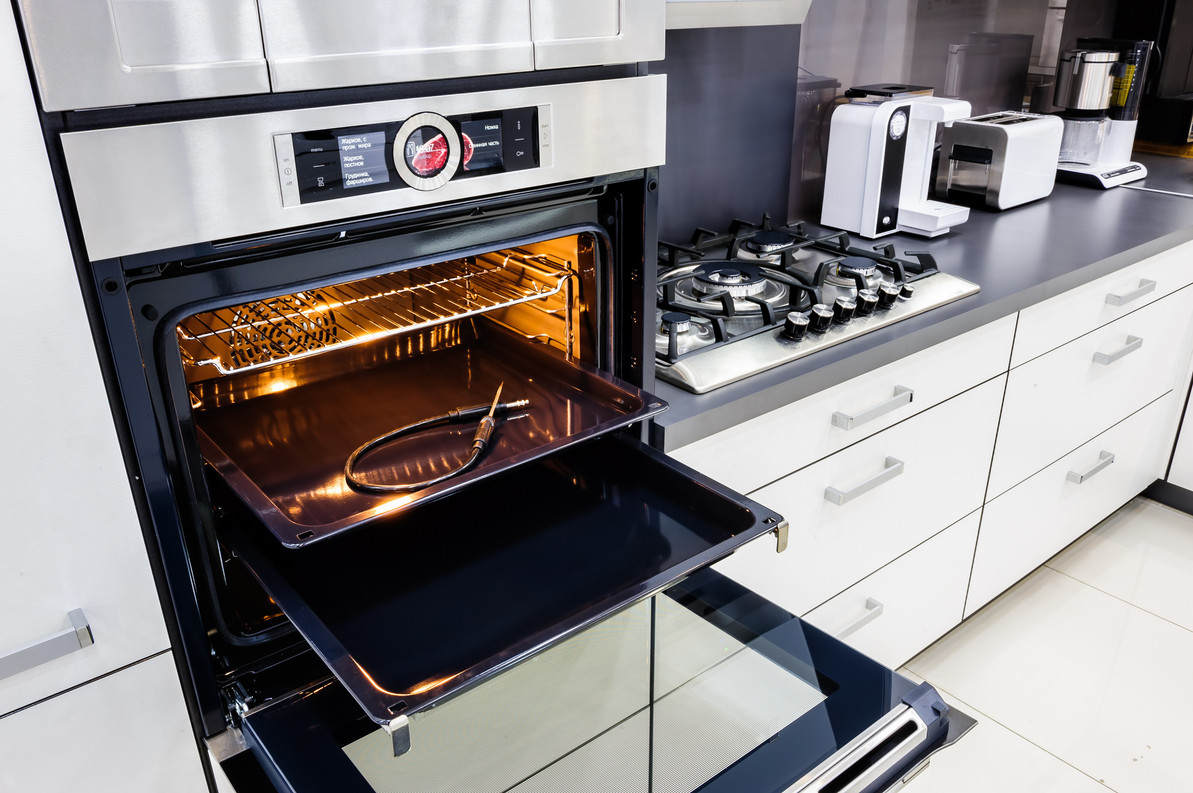
The first step is to take a good look at your oven and the kind of oven knob that it uses. Take note of the make and model of your oven as well, as this will help you a lot in the next step.
This is when you should decide whether you want to replace it or try and repair it yourself. It could be possible to use glue to fix a cracked knob, but often buying a replacement it better.
Another thing to look for is to see if your broken knob is held in place by little screws or not. This will let you know if you need to locate any extra tools for this repair.
2. Purchase a Replacement Knob
Next, you'll want to find a place to buy oven parts and purchase the correct replacement knob. Most businesses will list the type of ovens that their products will work with, which should make it easy for you to find the right one.
3. Remove the Broken One
Now it's time to remove that knob. A lot of knobs are easy to remove by simply pulling them off. When doing this, be careful not to turn the knob and accidentally start the burner.
If your knob is held in place by little screws, get the appropriate screwdriver and remove them first. Make sure to place them someplace safe so that you can reuse them for your replacement.
4. Clean Away Any Grime
Before setting the replacement, clean up any built-up grime that may have settled behind your oven knob. This will make it easier to set the replacement onto the oven while also letting you clean up a typically hard-to-reach place.
5. Set the New Knob In Place
Most knobs have a D-shape hole that you'll want to line up with the protruding D-shaped shaft that the old knob used to occupy. Line it up and then slide the knob onto the shaft. Make sure it's snugly fit and it's not loose in any way.
If your knob requires screws to keep in place, line up the knob and push it into place. Make sure to line up the screw holes, holding the knob steady before using a screwdriver to secure them in place.
6. Test the Repair
Once the knob has been replaced, all that's left is to test the oven. Try turning it on and off to make certain that everything is working correctly.
Repairing your Oven Knob Can Be an Easy DIY Project
Just keep in mind that some stove tops may be a little more finicky than others. While the majority should follow the above method, your particular oven may not. Always take the time to look at your oven and learn the differences it may have.
This will help ensure that the replacement goes well with no troubles at all.
If you have some questions at any time, please contact us!
Recent Posts
-
How to Clean an Ice Machine: Your Step-By-Step Guide
How to Clean an Ice Machine: We created a helpful, step-by-step guide to help you get your ice maker …Oct 25th 2019 -
7 Common Reasons Why Your Dryer Won't Start
Millions of dryers are sold in the United States every year. Dryers last for about 10 years. When yo …Sep 10th 2019 -
3 DIY Washing Machine Repair Tips
Is your washing machine shaking, leaking, or making a strange noise? These easy DIY washing machine …Oct 18th 2018


